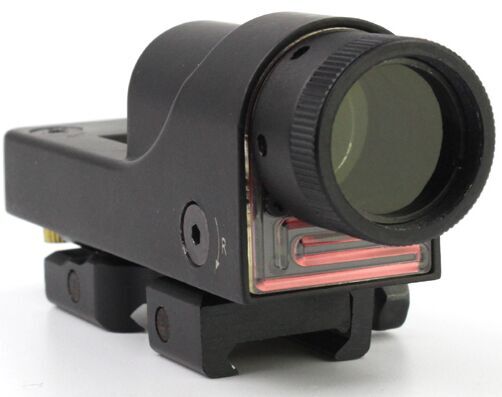
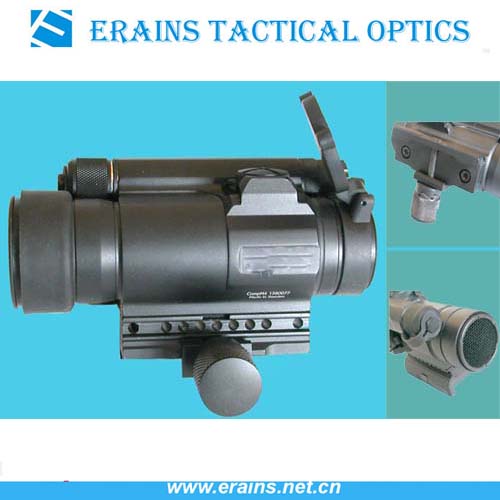
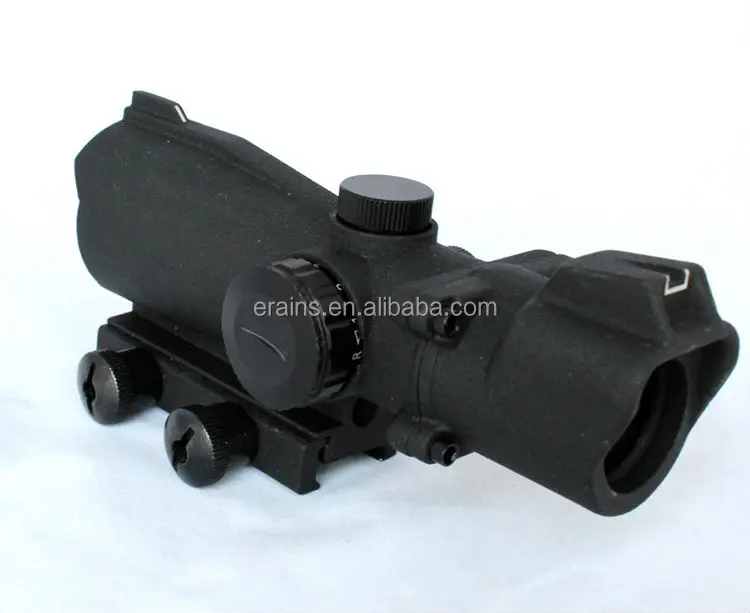
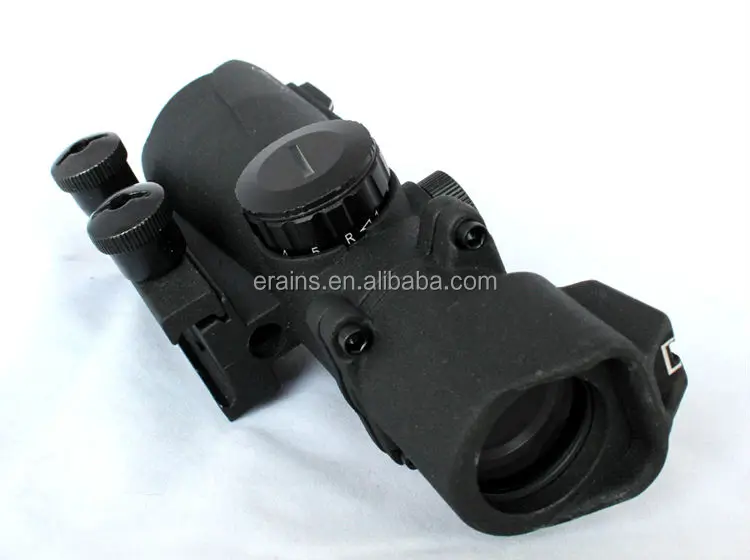
Model: ES-2X42D
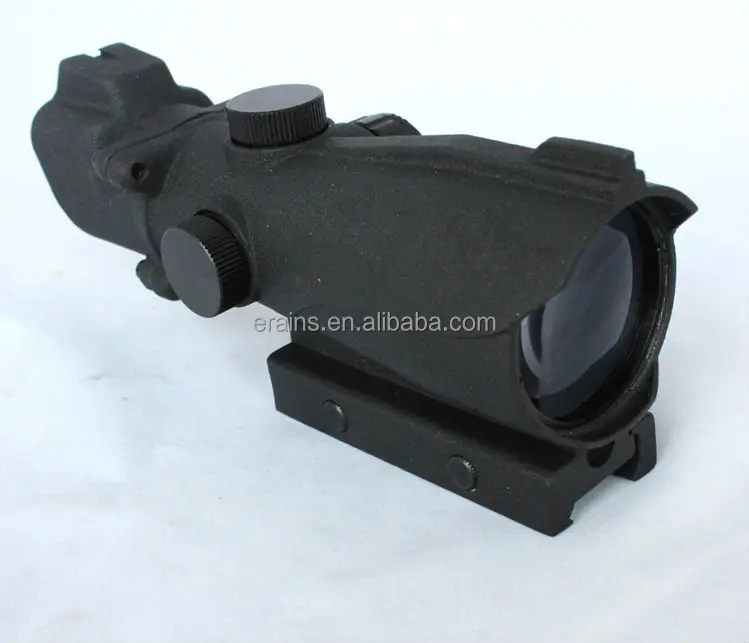
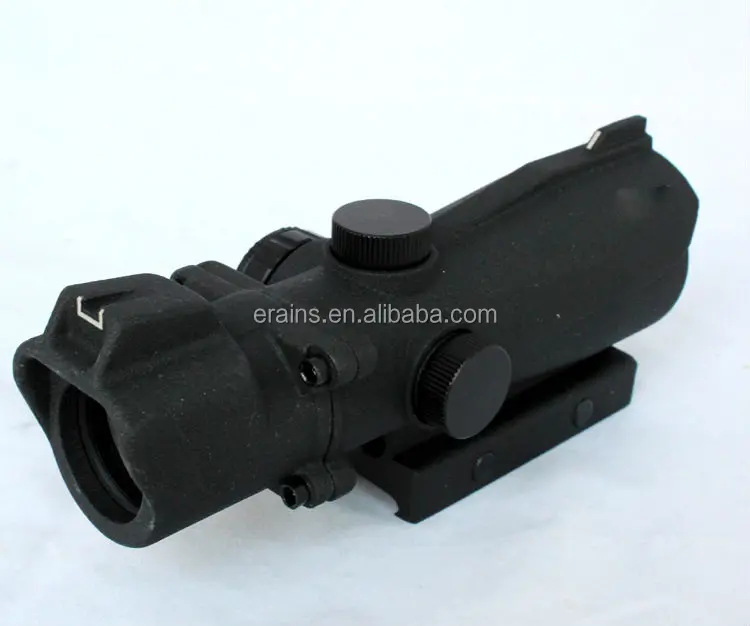
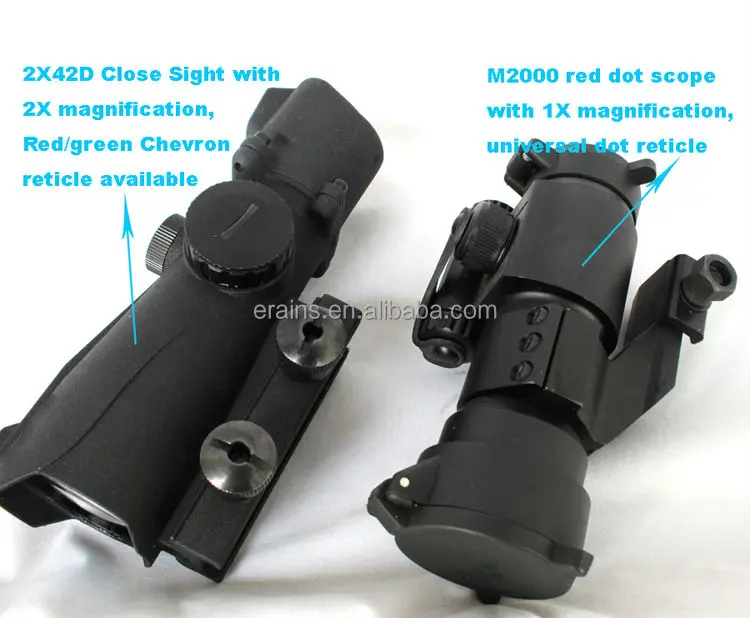
Name: The tactical Close Combat 2x42 Red Dot Sight with green dot sight riflescope combo
Normal dot or unitque Chevron reticle is available.
The brief techinical sheet for this sight:
| Reticle type | Dot, circle with mid dot or the chevron |
| Reticle color | Red and green |
| Reticle brightness settings | 0-5 |
| Magnification | 2x |
| Objective lens | 42mm |
| Eye relief | unlimited |
| Field of view (m@100m) | 13 |
| Parallax free @ yds | 20 |
| Click value (1 click=MOA) | 1 |
| Windage & Elevation(MOA) | 60 |
| Body material | Aluminum |
| Max recoil (G’s) | 800 |
| IP rating | IP66 - weatherproof |
| Lens coating | AR silver |
| Mount type | weaver/picatinny |
| Battery type | CR2032 |
| Battery life | 25 - 300hrs |
| Operating temperature | 0-120ºF |
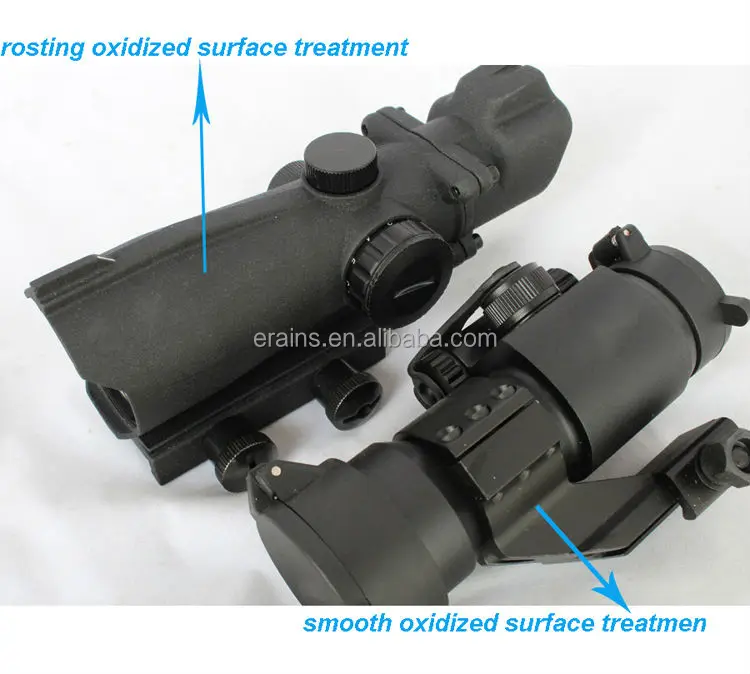
| Color | Matte Black |
| Surface treatment | Rosting Oxidized surface treatment |
| Dimensions | 163x62x74mm |
| Weight | 15oz or 425G |
INSTALLATION
It is recommended to have the red dot sight mounted by a professional gunsmith. However, if attempting to mount the sight without professional assistance please read and strictly adhere to the following directions.
WARNING! Never attempt to mount the sight on a loaded firearm.
1. The Red Dot Sight comes with a weaver/picatinny mount
2. Unload the weapon. Remove the bolt/firing pin to ensure the weapon is incapable of firing.
3. Install the red dot sight onto a weaver or picatinny base. Tighten the mounting screw (2) between
45-65 inch pounds of torque.
4. Ensure the red dot sight provides the desired eye relief by moving the weapon into the shooting
position.
5. Check that the red dot sight is evenly mounted, and boresight the sight.
BORESIGHTING THE RED DOT SIGHT
Boresighting and test firing should be performed safely on a firing range. Laser boresights are a quick and accurate method to sighting in scopes .Listed below is the traditional method of boresighting.
1. When mounting the sight on a bolt action rifle, remove the bolt; or when mounting to a semi automatic rifle, disassemble the rifle until there is a straight line of sight through the bore.
2. Use a target at least 20yds to 50yds away when sighting in. Look through the bore of the weapon and locate the bullseye of the target.
3. Sight in the target through the bore and then make windage and elevation adjustments to the sight until the reticle is centered.
To verify the scope is sighted in, fire a three-shot test group.
4. If you are still off center, make the necessary adjustments and again fire a three-shot test group.
OPERATING THE WINDAGE AND ELEVATION ADJUSTMENTS
To make windage and elevation adjustments:
1. Remove the caps covering the windage and elevation adjustments.
2. Using a flathead screwdriver or coin make the necessary adjustments. The windage and elevation adjustments are 1 MOA, meaning 1 click moves the point of impact 1in. at 100 yds. Adjustments can be both felt and heard.
3. Once adjustments are complete, screw the caps back on.
MAINTENANCE
Proper maintenance of the red dot sight is recommended to ensure longevity. It is recommended that when the dot sight becomes dirty, it is wiped down with a dry or slightly damp cloth. Blow dirt and debris off all optics and then clean lenses with a lens cleaning cloth. No further maintenance is required.
WARNING
Always follow your firearm’s instruction manual and warnings. Follow safe firearm practice. WARNING! Never attempt to mount the sight on a loaded firearm. DO NOT disassemble the sight for any reason as this will void the warranty and could be hazardous. Any internal work should be handled by the manufacturer. Any tampering with the purge screw will void the warranty.
TROUBLESHOOTING
Never ship back a red dot without getting the proper authorization beforehand. Doing so could result in losing the red dot due to a multitude of reasons, i.e. sending it to the wrong address and other problems associated with unexpected packages.
1. Check the firearms’ mount that is securely attached. Also, verify the red dot is mounted securely to the rifle. If there is any shifting, retighten the mounting system according to the mounting instructions but do not over tighten.
2. When test firing a rifle to check the point of impact relative to windage and elevation adjustments,
firing from a shooting rest will help eliminate shifting during firing.
3. Be sure to use factory-loaded ammunition of the same bullet type, weight, and preferably, lot
number when sighting in the red dot sight.
INSTALLING THE BATTERY
The Erains Tactical Close Combat 2x42 Red Dot Sight is powered by one CR2032. Should the reticle grow dim or not illuminate, the battery needs to be replaced. To install a new battery:
1. Unscrew the battery cap (4) counter clockwise and remove the battery.
2. Insert new battery with the positive (+) side facing up.
3. Screw the battery cap clockwise. Do not overtighten.
OPERATING THE ON/OFF SWITCH
To activate the Red Dot Sight:
1. Locate the on/off switch (5) and Rotate the adjustment switch to the desired illumination setting.
2. After use, turn the switch to the off position marked by “0”.
Product Warranty, Shipping Method and Payment Method
Warranty, we offer 12 months limited warranty for our products. Damage due to misuse, ill treatment and unauthorized modifications and repairs are not covered by our warranty.
Shipping Method, We provide comprehensive shipping methods, for small quantity orders we ship by DHL Air-Express, or EMS/TNT Express service, it is safe and fast. For large quantity orders we can ship by Air transportation or sea transportation, also we can ship order to buyer’s cargo agent in China. We quoted prices are EXW price, don’t include shipping cost.


