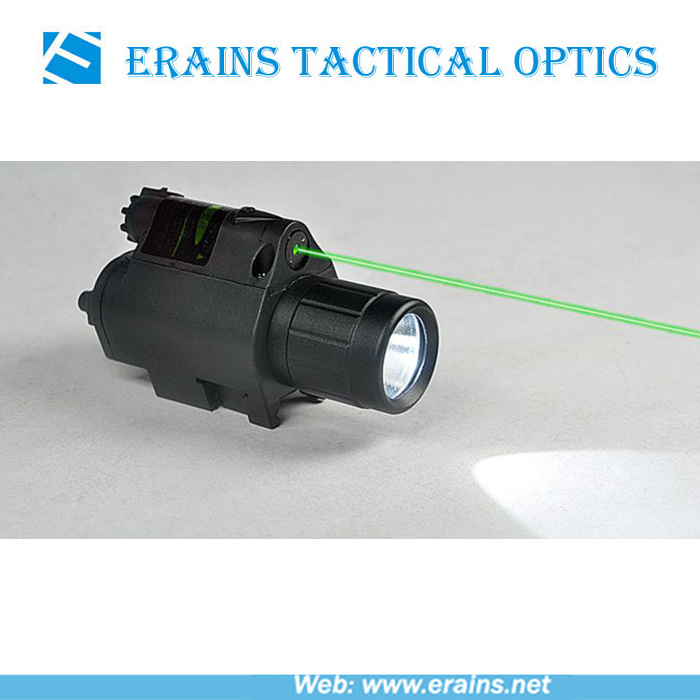
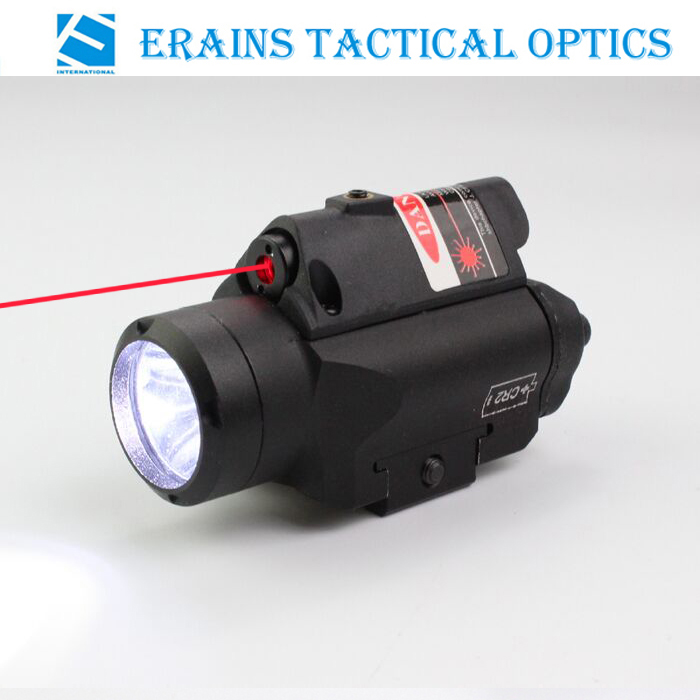
Model: ES-LS-MF07R
Name: Tactical Strobe Red laser sight and led light combo for picatinny rail, Red laser sight, Laser sight, laser scope, laser sight and led light combo, led light, led flashlight
Product Origin: China
Supply Ability: 1000 pcs/month
Minimum Order: 100 pcs
Delivery Lead Time for MOQ: 20 days


TECHNICAL DESCRIPTION
Wavelength: 650-660nm
Power Output: 3 W
Laser Type (mw): 5
Battery: Two CR123 Lithium Batteries
Battery Life: 3 hours of runtime
Lamp cup radiation angel: 45 degree
LED detailed information
LED model: CREE Q5 LED-003
Power: 3W
Diameter: Ø 8 mm
Length: 85 mm
LED brightness: Up to 200 or 225 lumens blinding beam, Bright sidelight
LED radiation angel: 120 degree
Light color: Cold white
Max electric current: 750mA
Working Temperature:-20 ~ +65
Storage Temperature:-40 ~ +85
Light attenuation: Less than 3% after 100k hours
Life time: ≤ 50000 hours
Laser detailed information
Model: LD-650-5X
Diameter: Ø 5.6 mm
Length: 5 mm
Working Temperature: -40 ~ +45
Storage Temperature: -50 ~ +65
Max electric current: 50mA
Life time: ≤ 5000 hours
Working volt: 3V
Weight with Battery: 4.72 oz, 133.8g
Warranty: Extended Warranty
Construction: Aircraft aluminum 7061-T6
Finish: Anodic oxidation/ V' r3 black
Operation: Ambidextrous Momentary/Steady on-off Switch
Rail Mount: Integrated mount
KIT INCLUDES
Laser sight and LED Flashlight integrated group
Calibration tools
2 CR-123A lithium batteries
User manual
PACKING
Packing: 1 unit/gift box, 50 units/master carton
Unit package: Gift paper box
Unit package box size: 10.5X6.5X4.5cm
Master Carton: Top cardboard carton
Carton size: 40x30x20cm
NW: 6kgs
GW: 9kgs
FEATURES
Quick target acquisition
Lightweight
Compact
Safe and adjustable
Dust and Shockproof
Ambidextrous Momentary/Steady on-off Switch
Machined anodized aluminum housing
Fits existing light bearing holsters
Adjustable mount flexibility that can accommodate the Glock or Picatinny (1913) accessory rails.
LASER SIGHT ZEROING
For a laser mounted below or to the side of the bore, there is only one distance where the bullet path will coincide with the laser sight line, this point is the zero range.
Laser adjustment and the muzzle velocity of the bullet determine where this point occurs. The user must decide how high above or below the sight line the bullet can be allowed to strike and adjust the sight accordingly. At distances less than the zero range the bullet will be above the sight line. Beyond the zero range the bullet will be the sight line.
If mounted to the side, the bullet will also deviate to the side of the laser line, as well as up and down. In practice, a XL-2LL on a handgun can be adjusted to keep the bullet strike within about 2 high and 2 low out to about 100 feet.
BATTERY ASSEMBLY
The ES-LS-MF07R laser sight and led light combo uses 2x CR-123 (6V) batteries. The CR-123s negative and positive pole has been indicated on the mount.
DANGER: DO NOT use anything other than a CR-123 battery or rechargeable batteries with this product.
To access the battery compartment you must first remove the flashlight from the firearm. Follow the MF removal procedure instructions to remove the flashlight from the firearm.
1. Unclip the door latch, the latch is tight, it may help to use a coin.
2. Slip the batteries from the flashlight.
3. Insert the new batteries observing polarity. Note: The flashlight is polarity protected and will not light if the batteries are inserted incorrectly.
4. Hold the battery switch/door at an angle and place the small tab on the bottom of the battery/door switch into the slot in the flashlight body.
5. Firmly push and hold the door closed against the flashlight body.
6. Swing the door latch over the door and snap it into place.
MOUNTING/REMOVAL PROCESURE
Make sure that the firearm is unloaded and the breech is open. It is imperative that safety measures by employed at all times while handling the firearm.
1. The MF is design to be quickly attached or detached from the side of the weapon or accessory rail.
2. Loosen the rail clamp tension bolt.
3. Angle the MF, placing the fixed portion of the rail clamp against the accessory rail and align the rail key with the appropriate cross groove in the accessory rail.
4. Slightly depress the tension bolt to open the rail lamp, rotate the MF into place and release the pressure on the tension bolt to snap the light in place.
5. Check for fit and tighten tension bolt until the MF is securely attached to the firearm.
MAINTENACE
The MF rail clamp tensioning bolt requires an application of high quality gun oil to keep it rust free. Use a soft cloth and mild detergent to clean the glass LED lens and keep it free of dirt and grime. The laser aperture (LS-MF) can be cleaned with a Q-tip 9or similar item) and mild detergent.
Note: always avoid aggressive cleaning solutions as they may damage the MF.
MF PARTS
Note: The MF rail key can be changed to accommodate several varieties of mounting rails. Remove the rail key screw with a 7/64th hex wrench and pull the rail key from the body. Insert the new rail key and fasten it in place with the rail key screw.
Product Warranty, Shipping Method and Payment Method
Warranty, we offer 12 months limited warranty for our products. Damage due to misuse, ill treatment and unauthorized modifications and repairs are not covered by our warranty.
Shipping Method, We provide comprehensive shipping methods, for small quantity orders we ship by DHL Air-Express, or EMS/TNT Express service, it is safe and fast. For large quantity orders we can ship by Air transportation or sea transportation, also we can ship order to buyer’s cargo agent in China. We quoted prices are EXW price, don’t include shipping cost.
...


